
Stainless steel banding is commonly used in a variety of industries for the purposes of securing, bundling, or fastening items together. The strength and resistance to corrosion of stainless steel banding makes it the perfect option for outdoor and heavy-duty use (sign mounting, hose clamping, duct work, and cable management). If you’re wondering how to install stainless steel band, the instructions and tools covered in this article will allow you to complete the installation successfully and professionally.
Stainless Steel Banding Overview
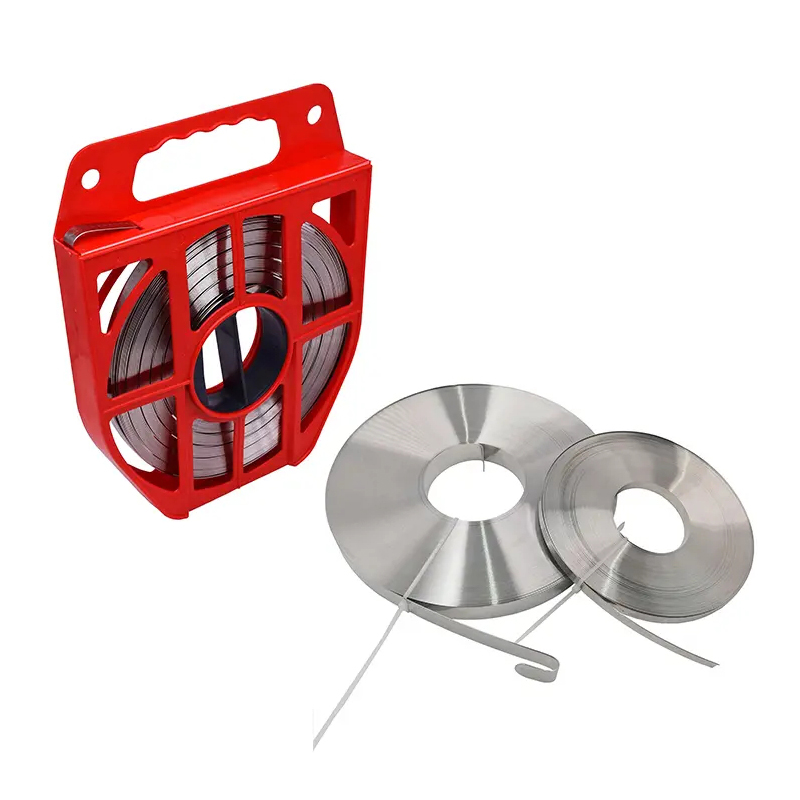
Stainless steel banding is typically sold in thin strips of metal, and each strip comes in different widths and thicknesses to meet your specific application. Generally, the stainless steel banding is used in conjunction with stainless steel banding buckles to create a loop or strap around the item being secured or bundled. When you install stainless steel banding, you will use a stainless steel banding tool to properly tension, shear, and clamp the banding for optimal results.
Preparation for Installing Stainless Steel Banding
Prior to beginning the installation process, following is the preparation needed to make the installation process quick and easy:
- Gather Materials: You will need stainless steel banding, banding buckles, a stainless steel banding tool, and protective gloves. Be sure to purchase the highest quality items available, as the use of these items will affect the installation and/or performance.
- Measure Accurately: To determine the necessary length of banding, measure the items or surfaces you are securing. Always add an additional bit to allow for some adjustment during tensioning.
- Safety First: Wear gloves to avoid injury from any sharp edges and to provide maximum grip while handling both your banding and your tool.
Step-by-Step Instruction to Install Stainless Steel Banding
Installing stainless steel banding is simple enough as long as you follow these steps:
- Step 1: Slide the buckle for the stainless steel banding over the band with the open end of the buckle facing up.
- Step 2: Wrap the banding securely around the item to be secured so that it creates a snug fit without any slack.
- Step 3: To create a greater holding strength, double-loop the band through the buckle. Insert the free end of the band back into the buckle via the open end and tighten it as much as you can manually.
- Step 4: Use the stainless steel banding tool to apply tension to the banding. Insert the band into the tensioning slot of the tool, and then crank the handle to secure the band tightly around the object.
- Step 5: Once sufficient tension is achieved, use the cutting feature of the banding tool to trim off any excess material. This allows for a clean, finished look.
- Step 6: Fold the trimmed segment of the band back over the buckle and secure it firmly using the clamping mechanism on the banding tool. This ensures a professional finish that prevents loosening.
Using the Stainless Steel Banding Tool
The stainless steel banding tool is essential for a proper installation. To use it effectively, begin by inserting the banding into the tensioning slot and tightening it by cranking the handle until the desired tension is achieved. Use the built-in cutter to trim off any excess banding. Finally, utilize the clamping function of the tool to fold and secure the banding over the buckle, ensuring a stable and professional finish. Always refer to the manufacturer’s guidelines for safe and accurate usage.
Additional Tips and Best Practices
For a successful installation, consider these additional tips:
- Choose the Right Size: Select the appropriate width and thickness of the banding based on your application. Thicker bands are suitable for heavy-duty tasks, while thinner bands work well for lighter applications.
- Inspect Before Use: Examine your banding and buckles for any defects or damage before installation.
- Tension Carefully: Avoid over-tensioning the banding, as this can strain both the material and the object being secured, potentially causing breakage.
- Consider the Environment: While stainless steel banding is corrosion-resistant, choose the right grade (e.g., 201, 304, or 316) based on exposure to chemicals, saltwater, or extreme weather conditions.
FAQ
How to Install Banding?
To install banding, wrap it around the object, insert the free end through the buckle, tension the band using a banding tool, and secure the installation by trimming and clamping the band.
How to Use a Stainless Steel Banding Tool?
Feed the banding into the tensioning slot on the tool, tighten it using the crank handle, cut the excess banding using the tool’s cutter, and use the clamping feature to securely fasten the band over the buckle.
What Are the Stainless Steel Banding Tool Instructions?
Most banding tools are designed for tensioning, cutting, and clamping the banding. Consult the manufacturer’s instructions for details on proper usage.
Conclusion
The process of installing stainless steel banding involves using the correct materials, preparing adequately, and employing a banding tool for precise tensioning, cutting, and clamping. By following the steps outlined above and using high-quality materials, you can achieve a secure and professional installation for various applications. Whether you’re securing signs, managing cables, or working on industrial projects, stainless steel banding provides the durability and reliability you need. Now that you know the process, you’re ready to take on your next project with confidence!
Post time: May-19-2026